1. Cut the fabric in half lengthways to make 2 'pumpkins' (if necessary).
2. Tuck a piece of string of equal length to the fabric into a pinned hem (about 3cm) at the top. Note- do not cut the string off of the ball yet, as you will not need a whole metre of string, but it makes it much easier to sew if it's of equal length to the fabric:
3. Holding the fabric taut with the string right at the top, stitch along to form a hem. Make sure you leave plenty of string poking out the end as below:
4. You can now decide how much string you need at the top by modelling your pumpkin. Place the pumpkin as desired (I had mine under my arms to leave them free, but you could just as well have it over the top of your arms and cut arm holes) and then gather up the pumpkin until it forms a full circle around you. Snip the string, leaving enough to tie the strings in a bow/knot to secure your pumpkin:
5. Knot the ends of the string and add a few stitches (Captain Sew didn't want to do this, so I quickly hand sewed mine) to stop the string getting lost inside the gathered fabric:
6. Repeat steps 2-5 for the bottom of the pumpkin.
7. You are now ready to join the sides of the pumpkin as you please- I tucked mine it to form a simple hem:
8. Try on your pumpkin, preferably with a green top and bottom half. Then stuff as necessary- you are now ready for any Hallowe'en party that may come your way!
This only took me 30 minutes per pumpkin, including some technical Captain Sew difficulties, as none of the sewing needs to be particularly neat. I was rather pleased with the result:
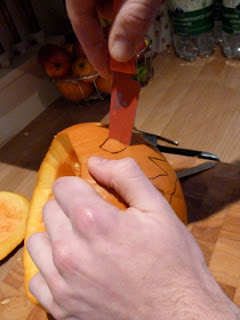
On another pumpkin-based note, we also made productive use of our extra hour today and carved a pumpkin just in time for Hallowe'en:
Happy Hallowe'en everyone!


